Nathaniel Brown's
 Directions For Running Jupyter In The Background On Windows

Written October 27, 2016
I love the Jupyter Notebook, but I hate starting it and managing my running servers. These directions will leave you with a server that is always running with access to your entire C drive. It should work on Windows 7, 8, and 10. Implementing this saves me whole minutes a day!
Jupyter Primer
To install jupyter: run pip install jupyter at a command prompt. To launch a notebook run jupyter notebook. This should open the jupyter notebook in a browser by default. Now we will make it so you never have to run jupyter notebook again.
Windows Setup
I tried setting up a service using win32service, but this very difficult and I settled on a simple Scheduled Task.
Open Task Scheduler
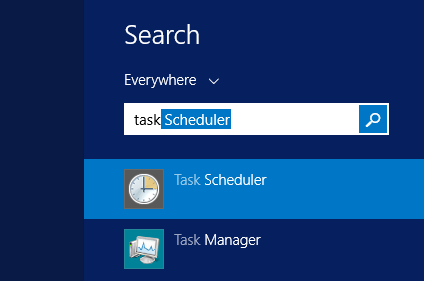 and under "Actions" in the right hand pane, click "Create Task..."
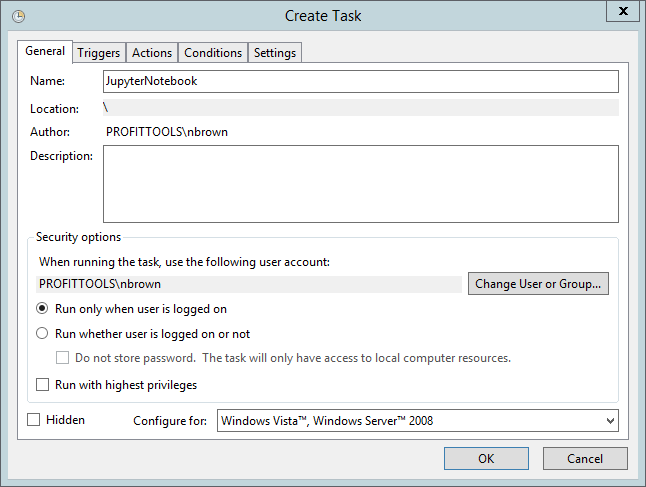
Under the "General" tab:
- set a name like "JupyterNotebook"
- Make sure the user account is set to the account you want to use
- Select "Run only when the user is logged in"
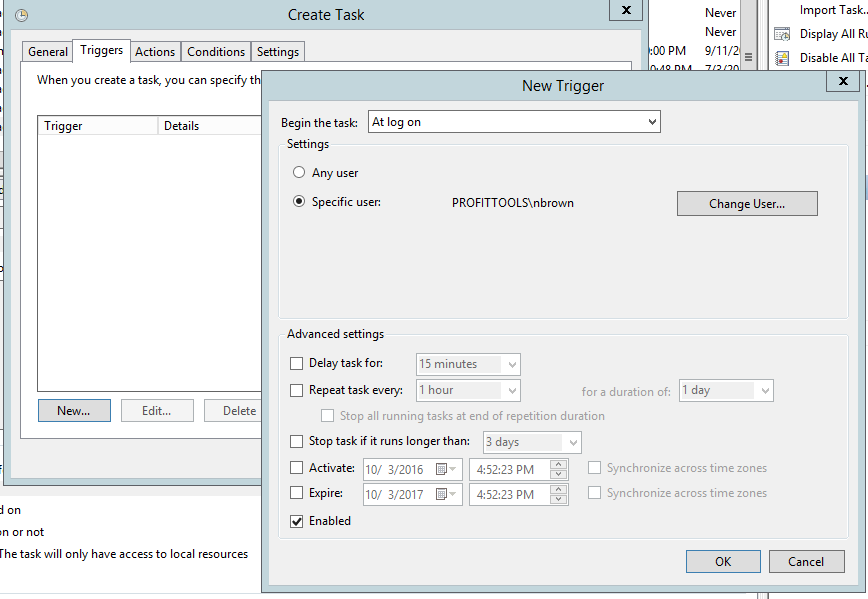
- Under the "Triggers" tab:
- Create a new trigger (click "New...")
- Set "Begin the task:" to "At log on"
- Select "Specific user:" and set the user to be the user you selected in step 2.2
- Click OK
- Under the "Actions" tab:
- Create a new action
- Set the "Program/script:" to be a path to a pythonw.exe executable in your desired Python installation. I use Anaconda, so my path was
C:\Anaconda\pythonw.exe.pythonw.exeis likepython.exe, but it is windowless. Typewhere pythonwat a command prompt to get the path for the version of python you are currently using if you are unsure. - Set "Add arguments:" to
C:\Anaconda\Scripts\jupyter-notebook.py --no-browser --ip=127.0.0.1 --port=8001 --notebook-dir=C:\notebooks. Adjust the path tojupyter-notebook-script.pyfor your installation location, as you did for the previous step (you should be able to runwhere jupyter-notebook-script.pyto get the path). You can adjust the flags passed to the notebook script as you wish, runjupyter notebook --helpfor available options. The--notebook-dir=C:\notebooksis important though. You cannot mount a notebook onC:\, but you can mount it on a shortcut that points to root. We will createC:\notebooksnext.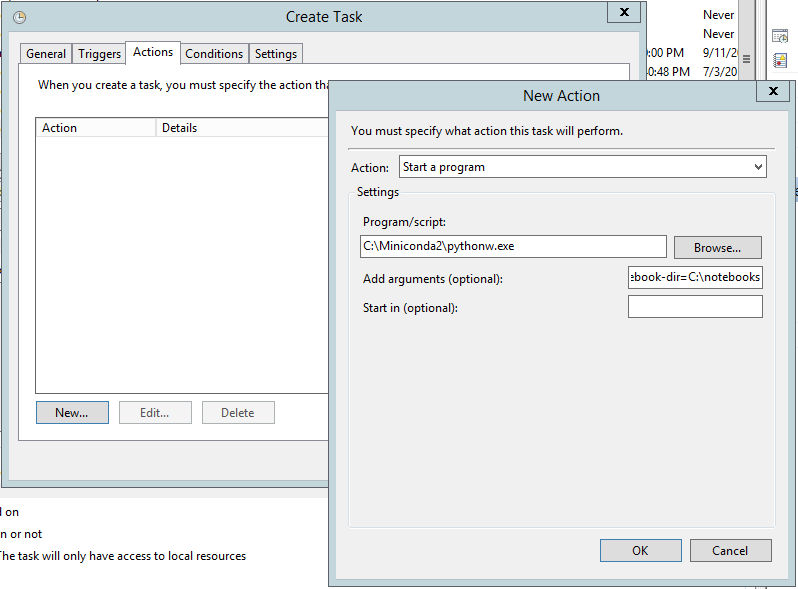
- Click "OK" to complete the task.
- Run
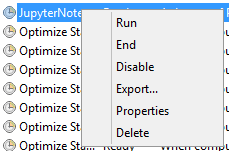
mklink /D C:\notebooks C:\at an Amin CMD prompt (search "cmd", right click and "Run as administrator"). This will create a symbolic link atC:\notebooksthat will point toC:\. This will bypass jupyter's refusal to mount onC:\. - Start your task by right clicking your new task in the list of tasks and selecting "run"
- Open a web browser and navigate to http://127.0.0.1:8001/tree/, which will show you a file browser at
C:\. I recommend bookmarking this page, or navigating to a directory that you usually work under and then bookmark that page (I havehttp://127.0.0.1:8001/tree/Users/nbrown/Codebookmarked)
Conclusion
That's it! Now whenever you want a notebook just click your bookmark and away you go. All your notebooks will run on the same server, you can access them via the "Running" tab. If you are like me, you will accumulate quite a few running notebooks and only clear them out when you run out of memory. I find this far preferable to having to actively manage my Jupyter servers whenever I want a notebook.
Addendum: Jupyter Lab and The Future
The juyter notebook is slated to be replaced by jupyter lab which offers an exciting new workspace. As of this writing it is in alpha (0.6) but is already quite useful. I am writing this post with jupyter lab, making use of their markdown renderer to see my markdown rendered in real time as I type.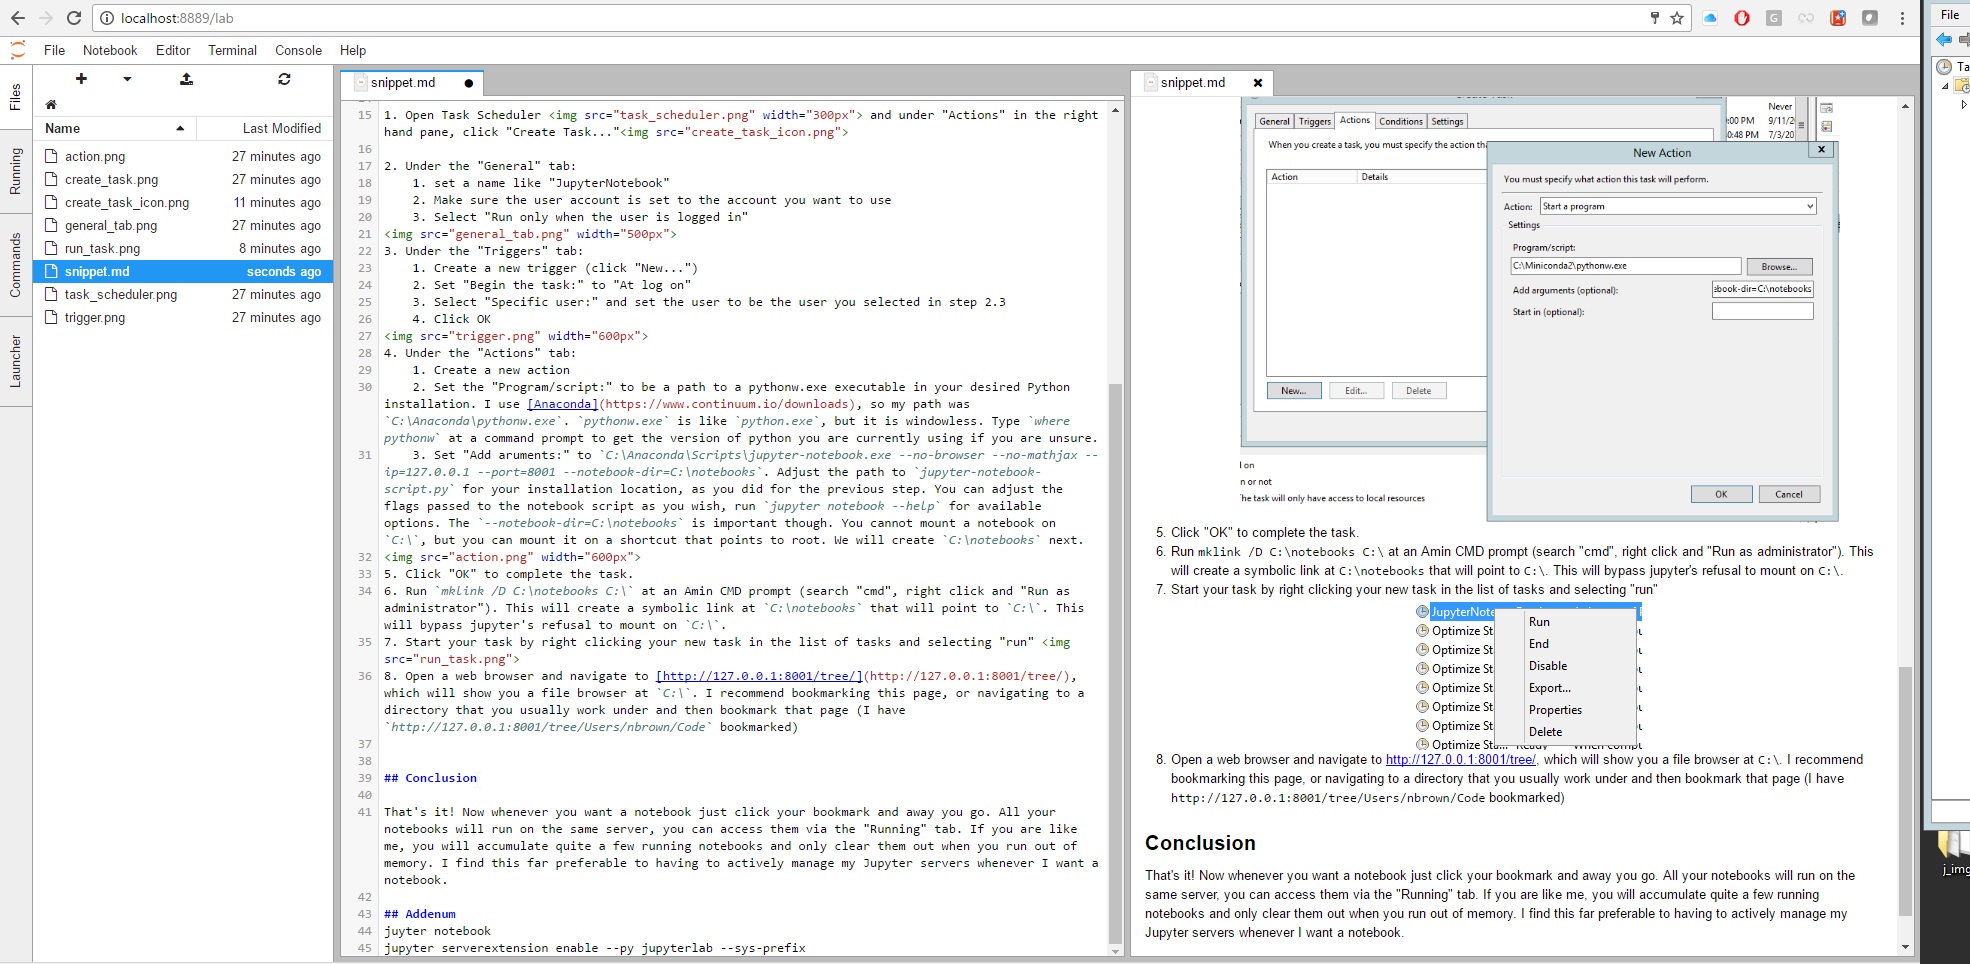 You can use the same general techniques described above to set up an always-on jupyter lab server. Here are the necessary tweaks:
- Run
pip install -U jupyterlab. You might want to run this periodically as they are shipping new versions all the time. - Run
jupyter serverextension enable --py jupyterlab --sys-prefix. This is required by the jupyter lab installation instructions. - Change the script passed to
pythonw.exe("Add arguments:" field in Scheduled Task Actions tab) to be the path tojupyter-lab.exerather thanjupyter-notebook.exe, which should be in the same<python install location>\Scripts\folder.